Monday, July 16, 2012

My Husband to the Rescue

Sometimes it only takes a little pressure washing and paint to bring a piece of furniture back to life.  My mother in law had this cute child's bench in her back yard but over the years it had weathered.  Each time my grand daughter sat in it, dirt and grime would get all over her clothes.  (Drum Roll)..... My husband to the rescue!  After one of our visits, we hauled it back to our house for a makeover.  

This is a BEFORE Picture.  Would you want to sit on that?


It has cute little frogs and flowers but the colors are all faded. 
RD to the rescue! Bring on the pressure washer.
Look at the difference.

Which color should we paint the flowers to keep the whimsical look?


The Finished Bench.  It is so cute that I wanted to keep it for my porch but we took it back to Alabama to MeeMaw's house.
Now all the great grand kids can enjoy it.
Nap time!  (Sorry the pictures are blurry)

Friday, July 13, 2012

The Finished Door (Almost)

In one of my previous posts, I mentioned that we were starting a new project that had something to do with a door, actually two doors.  Well, it is finished, or almost finished.  


This is one of the doors that we removed from the hallway in our basement.
These are the two french doors we installed.  The doors were custom cut but I had to paint them. 

I used an oil based high gloss paint.  Oil based high gloss gives a brighter sheen than latex high gloss but it takes a longer time to dry between coats.  

 Here's a little trick I learned from HGTV.  Between coats, I wrapped the paint brush and stirring stick with plastic and placed in the refrigerator to keep the brush from drying out so I could continue to use it.  It worked! Since brushes used with oil based paints can't be cleaned with soap and water, this saved me from wasting several paint brushes.  It took about three days for the door to really dry before installing it.  

Here is one of the doors.  It really opens things up into the hallway so it doesn't seem like a basement. 
Look really close and you can see the other door at the end of the hallway. 
It's not so claustrophobic in the hallway now as you enter our home theatre ( or known in the US as theater).  I can't tell you the last time we actually went to a movie.  We just wait till it comes out on DVD or pay per view. 
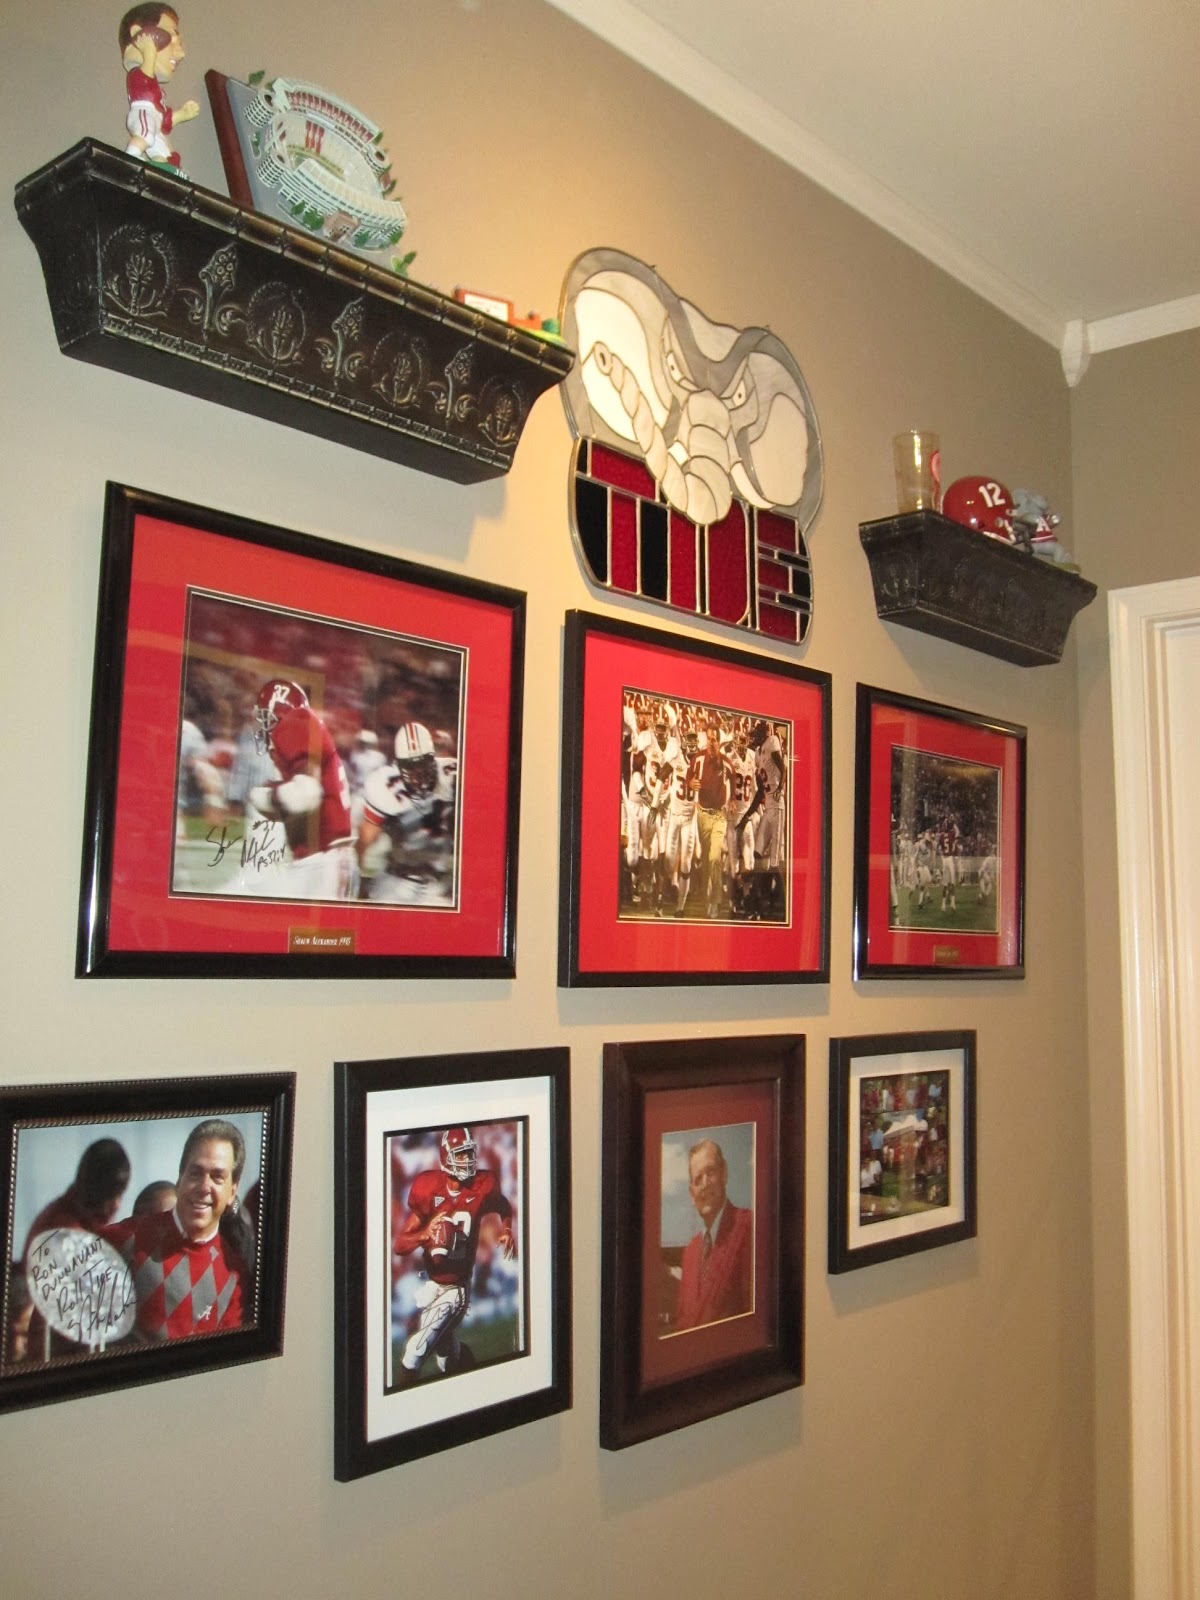
My husband did all the arranging of his Alabama memorabilia.  He did it very tastefully.  I'll show you another time the spotlights he added that are aimed right on the pictures. 
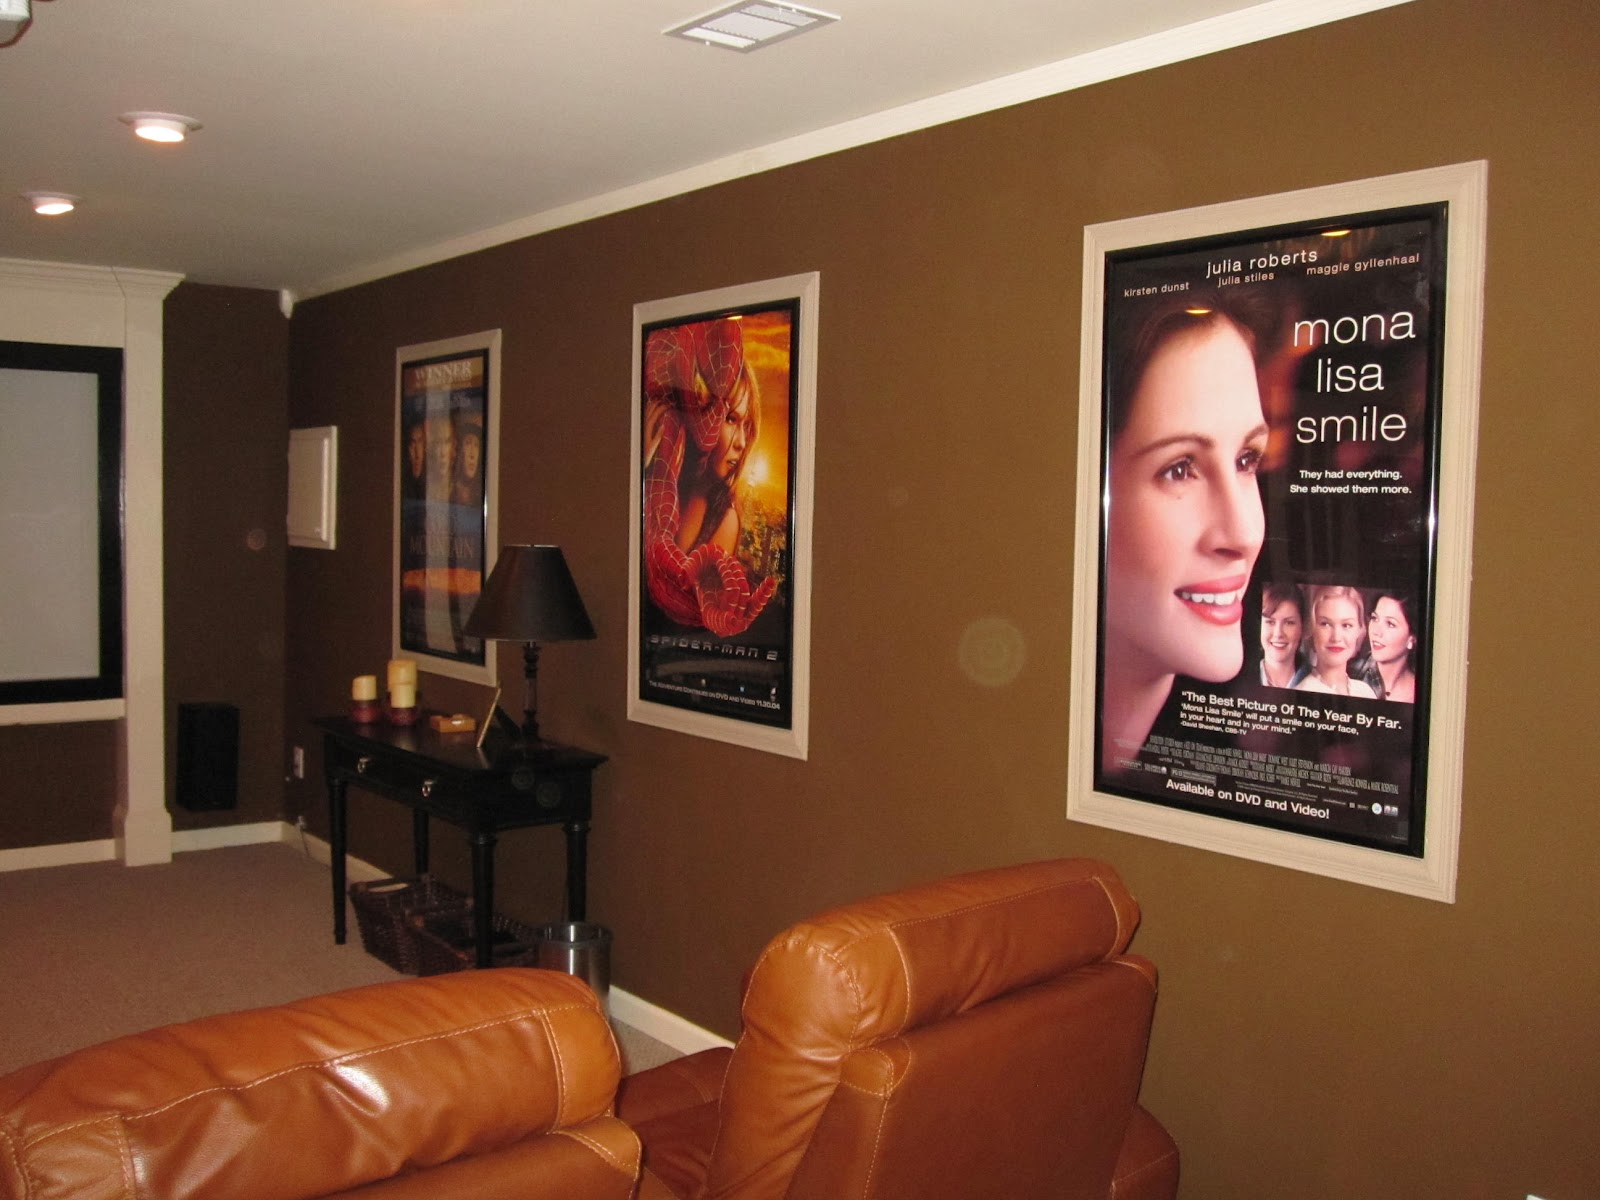
Now come on in to the theater and see what else my husband made!   See those movie posters on the wall.  Look very close at the frames.  HE BUILT THOSE TOO!
He used simple molding from Home Depot.
He has become quite handy at building things.
Now, it's time to watch a movie.
Oh, want to know what he did with the doors that he took down?  It is not quite finished yet but he got a start on it. 

He turned it  into a storage shelf in the garage for some of our tailgate stuff.
He still has some bracing and trim work to do but you get the general idea. 

I think this was one of his most creative ideas.  Stay turned for the finished project after it is trimmed out.  I might need to pin this idea on pinterest.

Today I'm linking to the following blog parties:
Addicted 2 Decorating
My Romantic Home 

Wednesday, June 20, 2012

Garden Art

Recently my husband and I visited his mother who lives in Alabama.  She is 83 years old and still works in her yard.  I love garden art and she has so many pieces tastefully displayed.  I even got some great ideas to incorporate in my backyard.  

This is the gate that enters into the backyard.
This is the little garden that you walk past as you approach the gate.  Do you see the bird houses? 
This is the "bottle tree on the other side of the gate.  The bottles are really pretty when the sun shines on them. 
Look very closely.  Do you see the sign hiding in the background?
Here it is!  Don't you just love this vintage sign!  This is an old advertising sign of the radio station, WJMW,  in Athens, Alabama that my husband's grandfather and father started in 1948. It was the first radio station in Limestone, County.  For a little history lesson on the station click here and here.
You can listen to live streaming:  WVNN


This is perfect as a piece of artwork.  I see signs like this all the time in antique stores.  
Look what she did with this hollowed out stump.  Just add a fern.
She has created a bird sanctuary and it is so relaxing to sit on her porch and listen to the birds.
Lots of perennials.
It is so soothing to hear the water flowing in this fountain.
The radio sign is my favorite thing in the garden but this bird feeder is my second favorite thing.  The design is so unique.  

 I hope you enjoyed the tour of her garden/sanctuary.  I know she has probably added something new so I'll find out this weekend. 

Thursday, June 14, 2012

Matching Footstools

Now that the table is finished, my husband and I were sitting on the porch one afternoon, relaxing in the wicker rocking chairs, when we realized that we needed a couple of footstools.  Out came the left over lumber and paint from the table project.  DRUM ROLL!!!!!!!  Matching footstools!


They are perfect for propping up your feet and are sturdy enough for sitting.  My granddaughter even used one of them as a little table.  The great thing about them was the cost:  $0. 


I'll use this cushion until and find or make one to fit.
This picture shows how it matches the table.
In the left side of the picture you can see a little bit of the day bed.  That's where I am headed in a few minutes. 
We have a new project that we started yesterday.  I am really excited about this one because it is INSIDE the house. You will have to check back for updates.   Ok, I'll give you a little hint.  
It has to do with these two doors that my husband removed from a room in the basement. 

Talk to ya later!

Patti

Tuesday, June 5, 2012

What Do You Do With a Pile of Lumber?

You build a table or your husband builds a table.  Yes, he had another idea and built it in a day.  We have been looking around for a couple of weeks for a table to put on our porch.  The distressed chalk paint look is very popular right now.  I think we have looked in every consignment/antique store in our town. They are very proud of them too.  Even tables that are just pieces of junk are priced way too high.  We found one that we really liked but it was priced way out of our price range (for a piece of junk) so my husband took a picture of it and decided to construct it himself.  I must say, I like it better. 

Stage 1: Building the frame
Stage 2:  We decided to place the slats vertically on the bottom and horizontally on the top.
Now it's time for sanding and painting.
Do we go with a green base with brown dry brushed on top or vice versa?
We decided to go with a brown base with green on top.  Now it's my turn to paint. See that old towel, that's what I used to rub off the paint to get that distressed look. 
Decision time again.  Light stain on top or dark stain? We decided on the dark stain.

And now for the final reveal.

 In this picture you can see a little of the brown showing through the green. This is the distressed look we were wanting. 
We got the distressed look that we wanted.  The total cost of this project:  $50.00   That's right, just the cost of the lumber.  We already had the paint that was left over from a previous project.  I really like the way this turned out.  It was just what we wanted.